
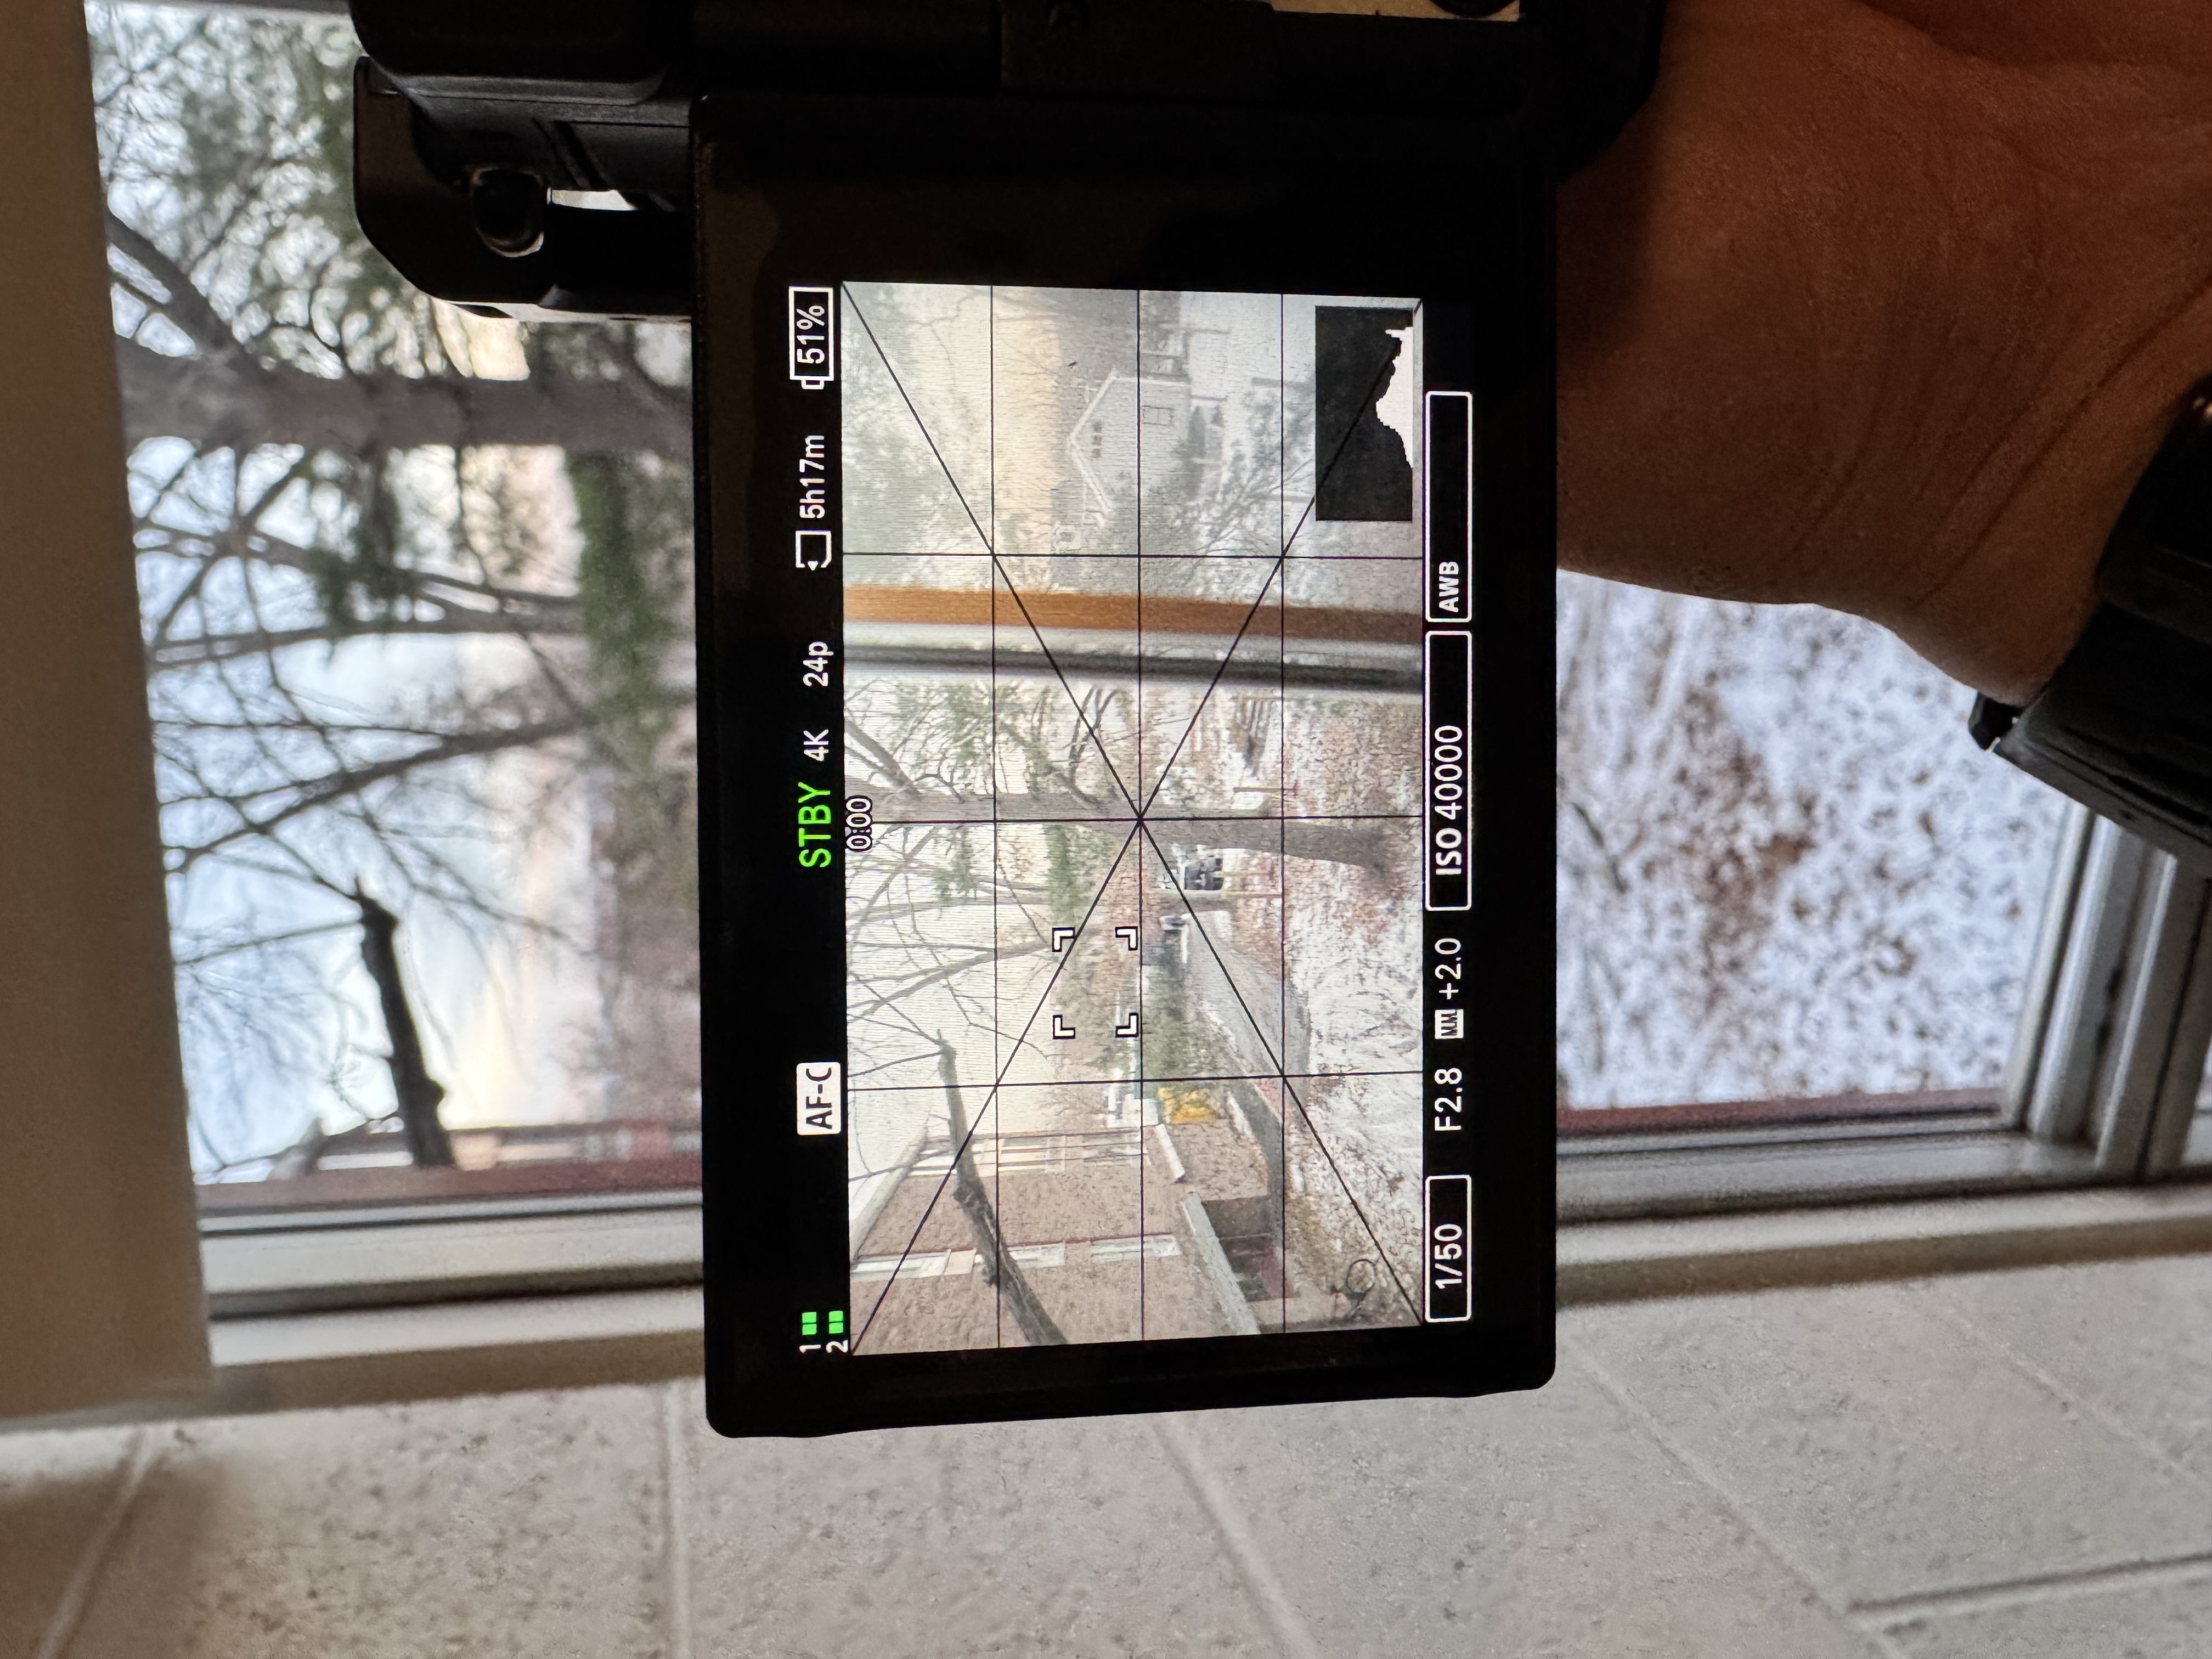
img_01: techiniques 2, 3 and 5 used
i get a lot of people asking me how i frame/style my shots such that it stands out. in this post, i reveal all my techniques that can be used to frame cinematic videos or pictures.
01. find a light source
no matter how good your camera is, your pictures are going to suck without proper lighting. no, this doesn't mean you should go out and buy artificial lighting. the best light source is the one that is available to you. the one that is always available (or should i say everyday unless you're living in, say norway) is the sun. utilize the sun—-exploit it even. for beginners, a rule of thumb is to never shoot towards the sun. this can cause the subject to be dark and the sun to over power the shot. rather, face your back towards the sun and let the sun expose your subject properly. another technique is to shoot during golden hours or during sun rise. mid-day sun can be harsh and bright, so i try to avoid shooting pictures and videos durinig those times. if i really need to shoot videos, i make sure to bring my nd filter with me. this ensures that i don't need to crank up my shutter speed to compensate for the bright footage, so that my footage stays cinematic.
02. create depth
another way to bring your image to life is by creating depth. how so, you might ask? well, there are many ways in achieving this, but the most common way and the method i use all the time is to find a foreground object that i can put in front of my frame. i then would set the aperature of the camera fairly low in order to achieve that nice foreground blur. this cretes separation between the subject and the foreground, making your subject stand out even more.
03. focus on one specific element
this point ties in with the second point in that whenver you take a picture of something, ask yourself, "what am i focusing on?". most pictures look mid because they lack focus. they lack intentionality. by just focusing your shot on one singular subject——could be a library, cat, shoe, you name it—-your image comes to life even more because the people seeing such pictures would know directly what the subject and intention is behind such photos.
04. rule of thirds is good, but i prefer the rule of fourth
you may have heard the rule of thirds. while the rule is great and all, i might prefer the rule of fourths. the rule of fourth is similar to the rule of thirds, but instead of cutting the frame into 3 evenly-sliced parts, it cuts it into 4. this then enables there to be a vertical and horizontal line down the middle of the frame, which allows for symmtery. i find that symmetric pictures can be one of the most aesthetically pleasing pictures out there.
img_02: perfect symmetry using rule of fourths
05. create contrast
black and white. complemntary colors, shadows and highlights——these are just some of the ways to create contrast. adding contrast to a picture creates more dynamic and add that element of visual pop to your image/video.
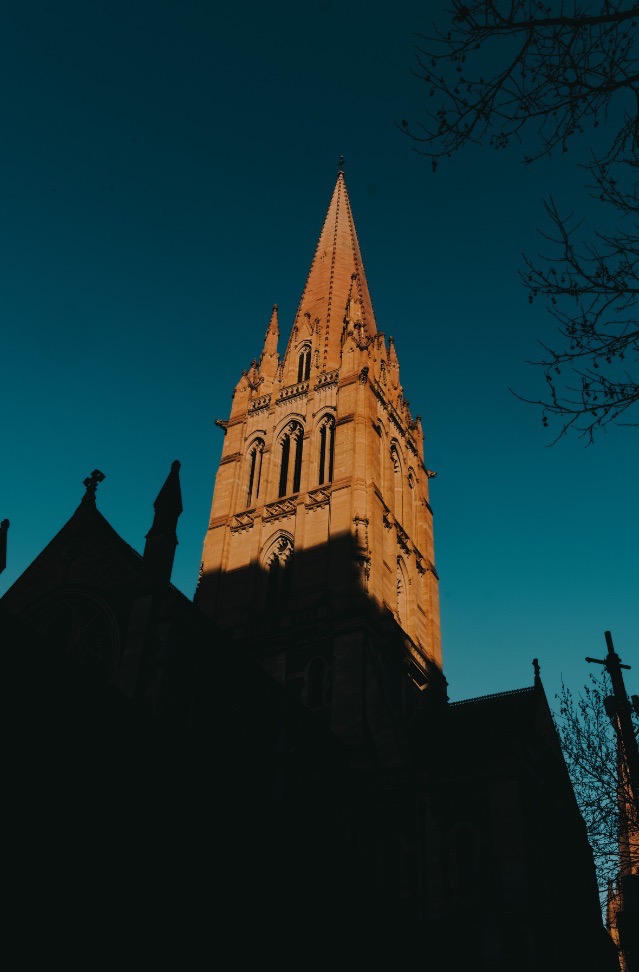
img_02: contrast between highlights and shadows
again, you don't have to implement all of these concepts into your photography/videography. take some, experiment with it, and if it doesn't fit your style, discard it and start over. photography and videography is a journey of self-expression. there's never a finish line. you just have to become better than yesterday. take care. ;)